
2026-10-29
Why is compressed air discharge temperature too high after the cooler?
High compressed-air discharge temperature after the aftercooler usually points to fouling, insufficient cooling flow or an operating point outside the cooler rating. Measure the approach temperature and pressure drop before cleaning or replacing the unit.
Quick answer: high compressed-air discharge temperature after the cooler is a system symptom, not automatically a failed heat exchanger. Check three areas first: heat-transfer fouling, insufficient cooling air or water flow, and an operating point outside the aftercooler rating. Measure the approach temperature and pressure drop before cleaning or replacing the core.
- Heat-transfer fouling: dust and oil on the fins, oil varnish inside air passages, or scale on water-cooled surfaces reduce the effective heat-transfer rate.
- Cooling flow: a blocked louver, loose fan belt, failing motor, low water flow or hot-air recirculation can leave the core clean but under-cooled.
- Operating point: higher compressor flow, higher discharge temperature or a hotter ambient can exceed the original selection even when the cooler is undamaged.
- Measurement: verify the temperature sensors and calculate the approach temperature at the same load and pressure used for the original rating.
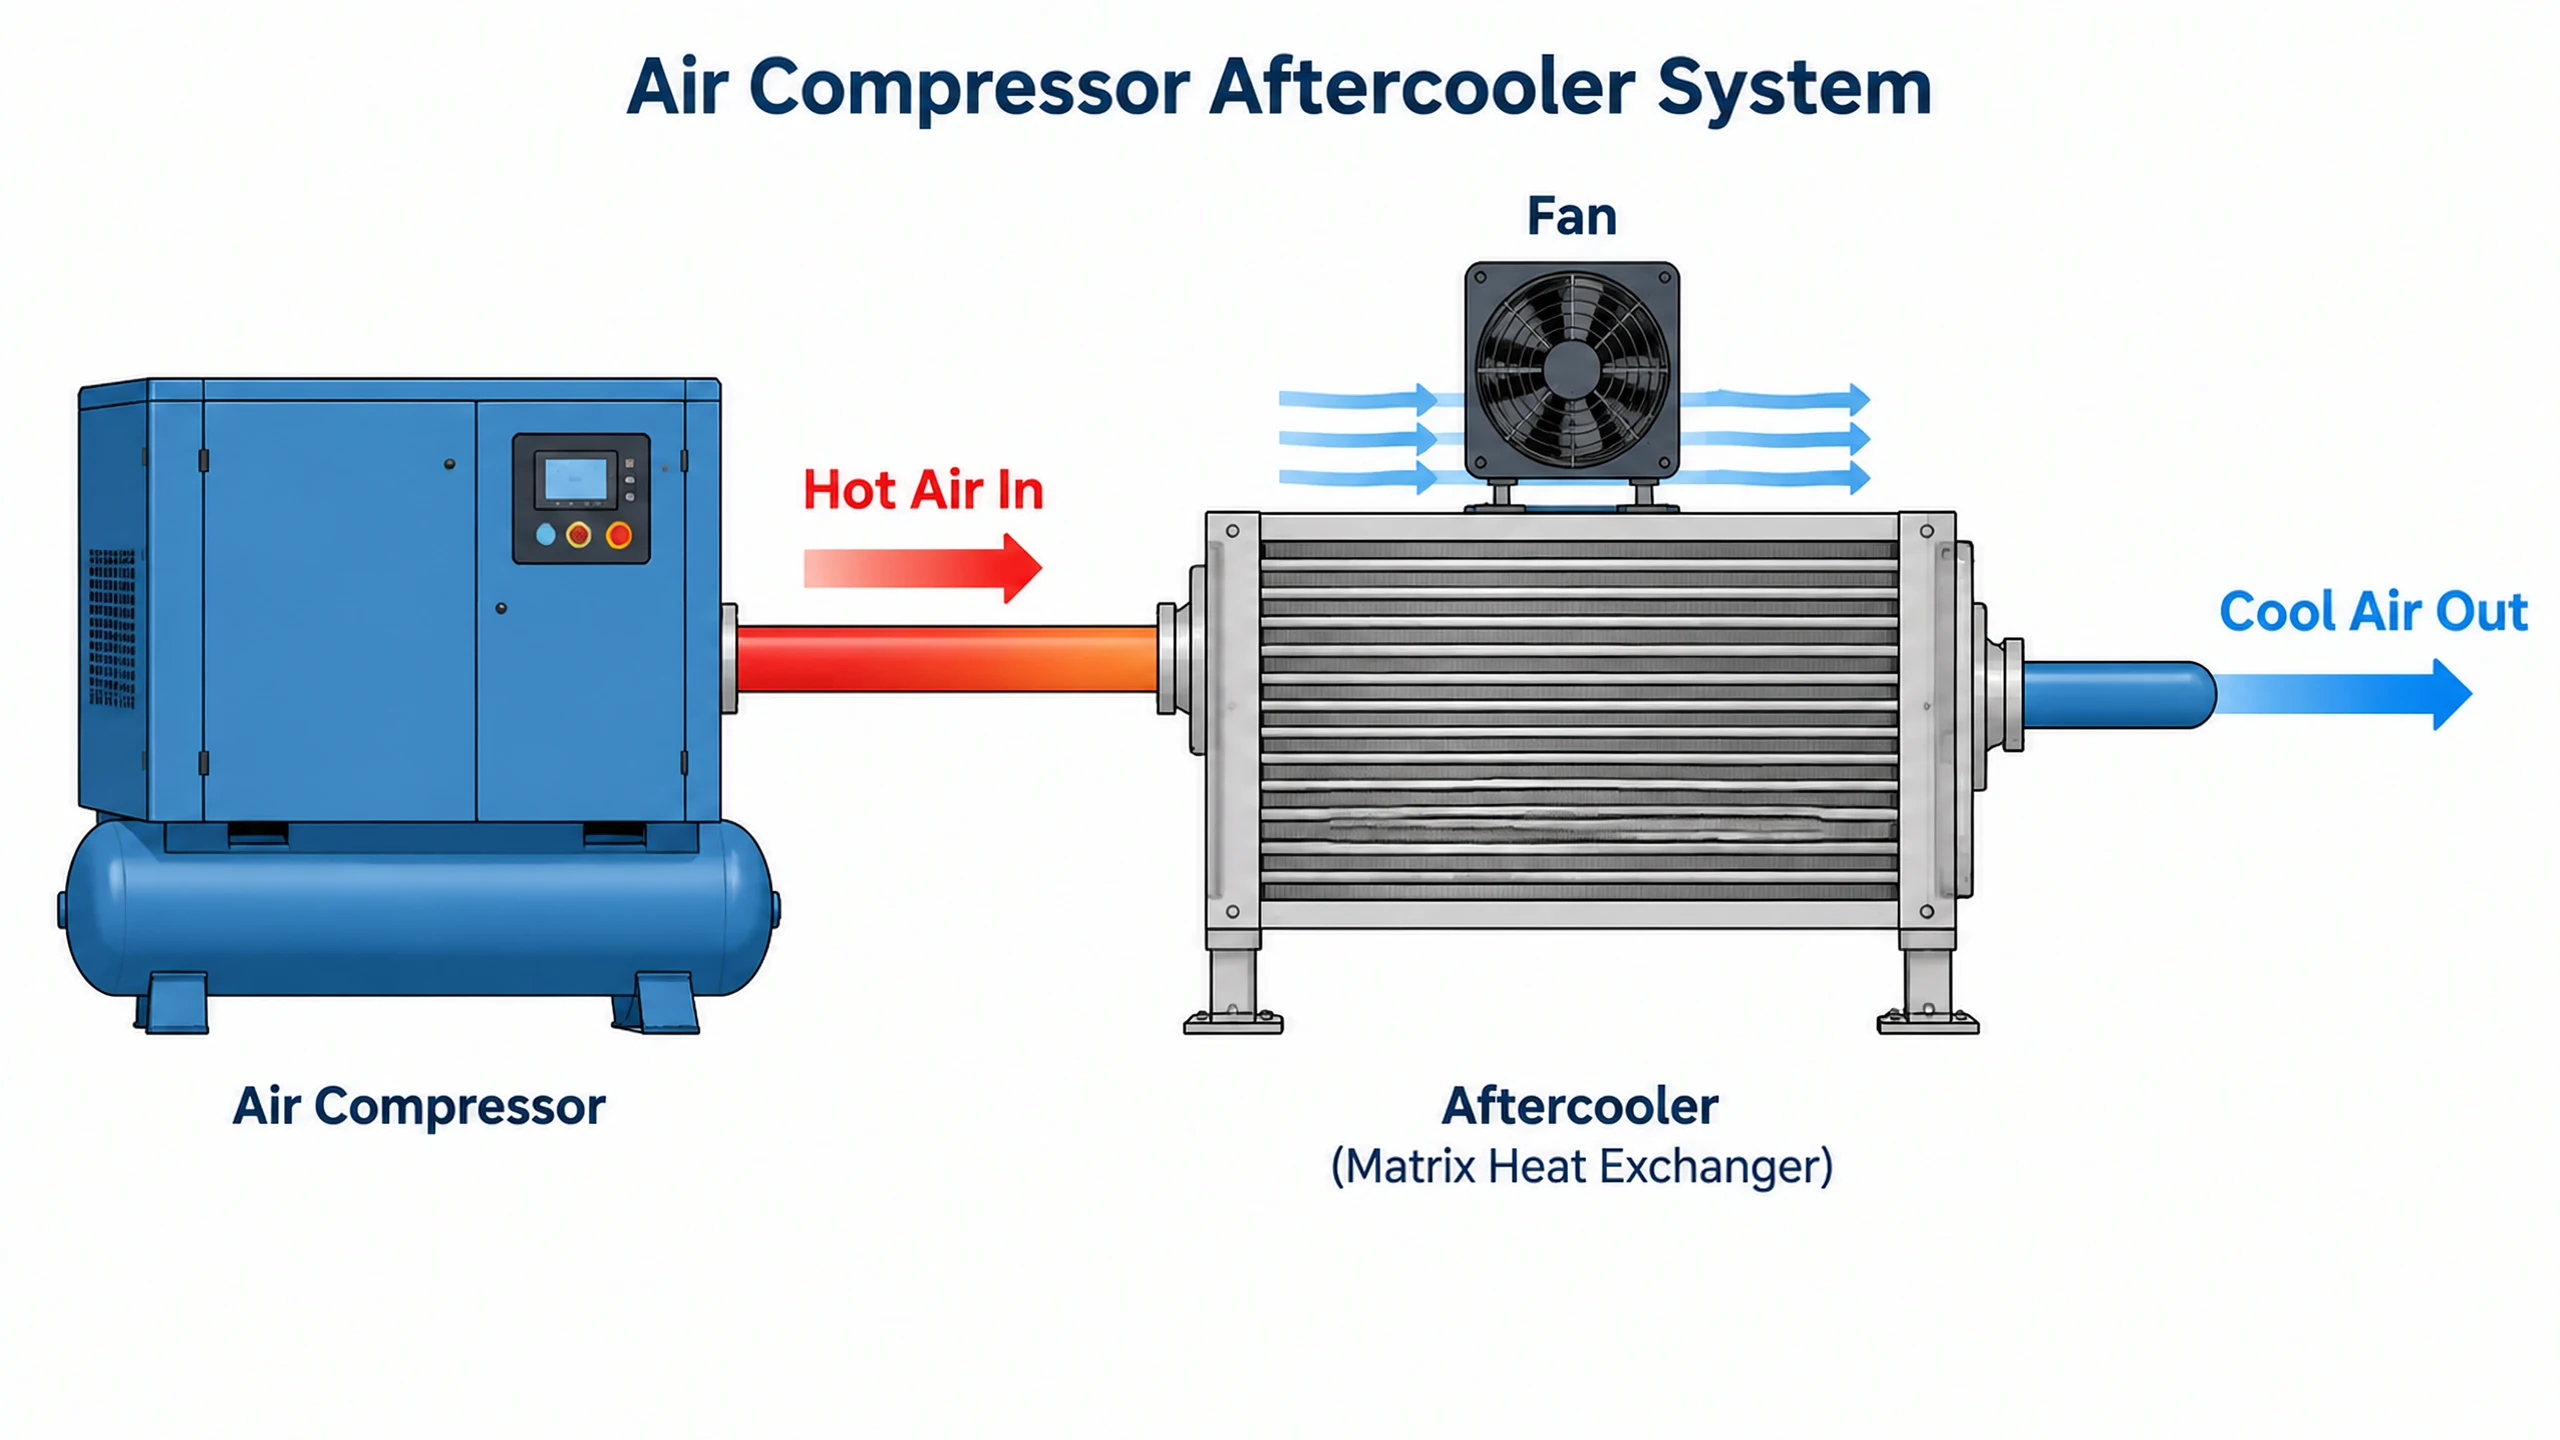
What “too high after the cooler” actually means
A compressed-air aftercooler reduces the air temperature after the final compression stage. The outlet temperature depends on the incoming compressed-air temperature, cooling-medium temperature, mass flows, core area and the heat-transfer resistance on both sides.
A high outlet temperature is therefore not enough information to condemn the cooler. The same core can produce a normal outlet temperature at part load and a high outlet temperature when the compressor runs at full output in a hot enclosure. The first step is to compare the current reading with the aftercooler's specified performance at the same operating point.
Record:
- Compressor model and load
- Discharge temperature before the aftercooler
- Compressed-air outlet temperature
- Cooling-air or cooling-water inlet temperature
- Ambient temperature at the package inlet
- Airflow or cooling-water flow
- Working pressure and pressure drop
- Fan speed, belt condition and motor current
- Condensate separator and drain condition
For the related moisture problem, see the compressed-air aftercooler water carryover guide.
Calculate approach temperature before blaming the core
The useful comparison is the outlet approach, also called CTD in some compressor documentation:
approach = compressed-air outlet temperature - cooling-medium inlet temperature
For an ambient-cooled aftercooler, the cooling-medium inlet is the air entering the core. For a water-cooled unit, it is the cooling-water inlet. Record both temperatures at the same time and at stable load.
An approach of roughly 8°C to 10°C may be a reasonable target for some ambient-cooled compressor packages, but it is not a universal specification. The acceptable value depends on the cooler design, compressor package, site ambient, cooling medium and the pressure dew point required downstream.
A rising approach under the same load points to reduced heat-transfer performance. A normal approach with a high absolute outlet temperature points to a high cooling-medium temperature or a high compressor inlet temperature. Those are different problems.
Check cooling airflow and fan condition
An air-cooled aftercooler can have a clean core and still overheat if it receives insufficient air. Inspect the fan and the complete air path:
- Fan rotation and blade condition
- Belt tension, pulley wear and coupling condition
- Motor current and speed
- Shroud clearance and seal condition
- Blocked or damaged louver sections
- Dust bridging across the fins
- Hot discharge air returning to the inlet
- Restricted enclosure openings
A fan selected from a free-air catalogue may not deliver the same airflow through a dirty core, a tight enclosure and a hot air stream. Use the installed fan curve or measure the pressure differential and airflow after the package reaches operating temperature.
Separate external fouling from internal fouling
External fouling blocks the airflow path. Internal fouling increases the resistance between the compressed air and the cooling medium. They require different cleaning methods.
External fin fouling
Oil mist, dust, lint and workshop dirt can form an insulating layer on the fins. In severe cases the cooler looks intact but most of the air bypasses the blocked fin area or passes through an uneven flow distribution.
Inspect both sides of the core with a light. Clean dry contamination first with low-pressure compressed air in the reverse direction of normal airflow. For oily deposits, use a cleaner compatible with the aluminum, coating and gasket materials, then rinse and dry completely.
Do not use a high-pressure jet close to the fins. Bent or folded fins reduce free area and are difficult to restore. Do not push contamination deeper into the core.
Internal oil varnish or carbon
Oil varnish and carbon can reduce the air-side or oil-side passages in an integrated compressor cooler. Symptoms include higher pressure drop, lower flow and a rising approach temperature under the same compressor load.
A chemical flush is not a universal fix. The cleaning agent must match the deposit and the materials of the core, and some brazed coolers cannot be cleaned reliably after severe blockage. Use the cooler manufacturer's approved procedure, control the circulation and temperature, and follow with flow, pressure and leak testing.
Water-side scale
Water-cooled aftercoolers can lose performance when scale, biofilm or corrosion products form on the water side. Check water flow, inlet temperature, water quality and the water-side pressure drop. A water-side cleaning method that works for one water chemistry may damage another; confirm compatibility before circulating chemicals.
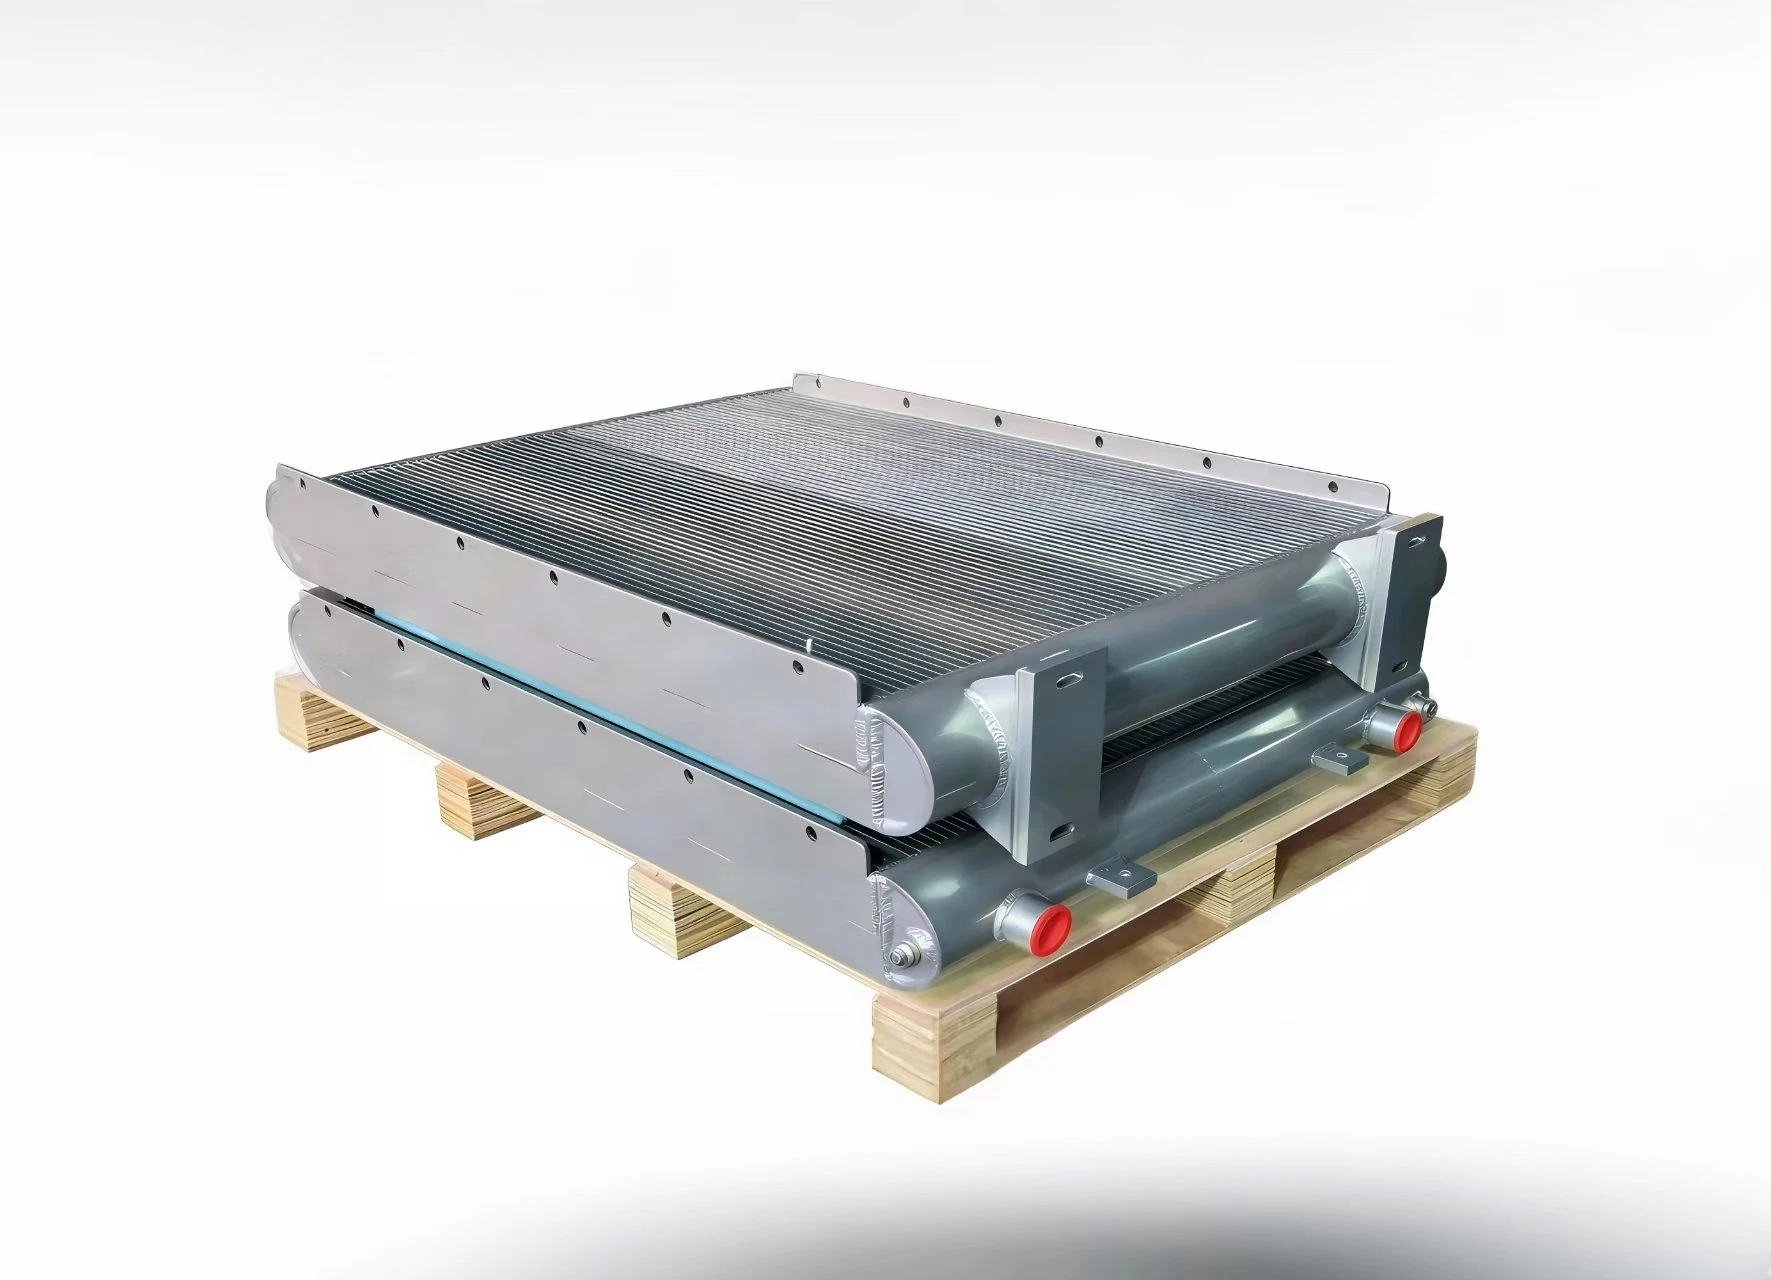
Check pressure drop and compressor load
A high outlet temperature can be caused by a cooler that is too small for the current flow, even when its surfaces are clean. Compare the measured air-side pressure drop with the specification and verify that the compressor is not running above the flow used for the original selection.
Check:
- Compressed-air flow at full load
- Compressor discharge temperature
- Working pressure
- Air-side pressure drop
- Cooling-medium flow and inlet temperature
- Fan power and rotational speed
- Package ambient and recirculation
- Dryer and separator pressure drop
A cooler can be thermally adequate at the original design point and inadequate after a compressor overhaul, a higher-speed drive, a new enclosure or a change in site ambient temperature.
What to do before replacing an air compressor aftercooler
Use a measurement-based repair sequence:
- Clean the external fins and restore airflow. Verify fan direction, belt condition, motor current and enclosure openings.
- Check the water or air side of the cooling circuit. Confirm flow, inlet temperature and pressure drop.
- Measure the approach temperature again. A drop after cleaning confirms that fouling was limiting heat transfer.
- Review the compressor operating point. Compare flow, discharge temperature and pressure with the aftercooler rating.
- Inspect internal restriction. If pressure drop remains high, use an approved cleaning procedure or replace the core.
- Validate the repair. Repeat temperature and pressure measurements at full load and confirm condensate removal.
A replacement is normally more appropriate when the core is leaking, deeply corroded, mechanically damaged or internally blocked beyond reliable cleaning. The replacement must match the compressor model, air flow, working pressure, cooling medium, connection arrangement and available envelope.
For a compatible replacement, review the OEM replacement air compressor aftercooler and oil cooler. For a different envelope or duty, the custom compressed air cooler can be sized from the compressor and site data.
Replacement and compatibility checks
Atlas Copco and Ingersoll Rand are widely used compressor brands, but a similar outside shape does not prove compatibility. Confirm the model, part number, core dimensions, port orientation, mounting points, fan arrangement, working pressure and cooling duty.
Brand names are used only to describe compatibility; TH is not affiliated with the original equipment manufacturers. The safest route is to send a photo of the old cooler, the machine nameplate and any part number or drawing so the replacement can be checked against the installed envelope.
Information needed for a replacement review
| Data | Why it matters |
|---|---|
| Compressor make, model and serial number | Identifies the package and possible OEM variants |
| Old cooler photo and part number | Confirms connections, mounting and envelope |
| Full-load airflow | Sets the air-side heat load and pressure drop |
| Compressor discharge and required outlet temperature | Defines the aftercooler duty |
| Working pressure | Confirms the pressure boundary and connections |
| Cooling air or water inlet temperature | Establishes the available approach |
| Allowable pressure drop | Protects compressor efficiency and controls moisture |
| Site ambient and enclosure condition | Explains performance changes after installation |
| Separator and drain arrangement | Ensures condensate leaves the system |
| Required delivery and documentation | Confirms the practical replacement route |
For a complete package review, see the compressor and vacuum pump cooling solutions or send the details through contact.
FAQ
Why is compressed air discharge temperature too high after the cooler?
The usual causes are external or internal fouling, insufficient cooling air or water flow, a high compressor discharge temperature, an undersized aftercooler or an operating point outside the original rating. Measure the approach temperature and pressure drop before replacing the cooler.
What is a normal aftercooler approach temperature?
The approach is the compressed-air outlet temperature minus the cooling-air or cooling-water inlet temperature. The acceptable value depends on the cooler design, compressor package, ambient and downstream dryer requirement. An 8°C to 10°C target may suit some ambient-cooled systems but is not a universal rule.
Can a chemical flush fix a blocked aftercooler?
Only if the internal deposit and construction are compatible with the approved cleaning procedure. Oil varnish, carbon and water-side scale require different treatments, and some brazed cores cannot be cleaned reliably after severe blockage. Flow, pressure drop and leak testing must follow cleaning.
What causes low cooling airflow across an aftercooler?
Blocked fins, damaged louvers, a loose fan belt, a failing motor, incorrect fan rotation and hot-air recirculation can all reduce mass airflow. The fan must be checked against the installed system resistance, not only against its free-air rating.
When should I replace an air compressor aftercooler?
Consider replacement when the core is leaking, internally restricted, severely fouled, mechanically damaged or unable to maintain the required outlet temperature after the cooling system has been corrected. Confirm model, envelope, flow, pressure, connections and required approach before ordering.
Need help diagnosing a hot aftercooler?
Send the compressor model, full-load airflow, inlet and outlet temperatures, cooling-medium temperature, pressure-drop readings and photos of the installed cooler. Our engineers can separate a cleaning problem from an airflow, operating-point or replacement problem.